

Decopatch Project : Sketchbook Cover Makeover
I’m starting my sketchbook journey and decided my first project should be redoing the cover. The white is lovely but would get dirty real fast. I’m planning to carry this gem with me everywhere. This is a simple art project that can be done in about an hour (give or take depending on the size of your book). Most of my supplies were bought at one of my favorites places : Blick Art Supplies Store. Blick is family business founded by Dick Blick and Grace Blick. They have multiple store fronts in NYC. My favorite one is located by Madison Square Park. The staff are really nice and love to talk you through any questions you have about the materials and whatever project you’re working on. You can shop online if you need. Ohkay! Let’s Dive in!!!!!!
Materials & Supplies
Most of my supplies were bought at one of my favorites places : Blick Art Supplies Store. Blick is family business founded by Dick Blick and Grace Blick. They have multiple store fronts in NYC. My favorite one is located by Madison Square Park. The staff are really nice and love to talk you through any questions you have about the materials and whatever project you’re working on. You can shop online if you need.
Talens Art Creations Sketchbook
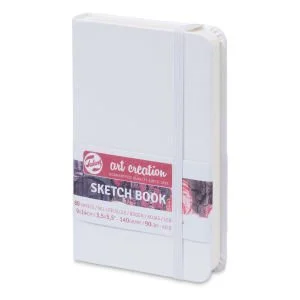
This sketchbook is a great tiny companion to take with you while you’re on the go. It’s inexpensive so you don’t have to feel pressured if you create “ugly” art or simple line drawings to get you started.

Decopatch Paper
I actually got the idea to revamp my sketchbook cover because I was looking to cover a journal bag who’s design wasn’t really my aesthetic. These papers are a great way to redecorate books and other objects.
Plaid Mod Podge Gloss Finish

This is a special glue that can be used as a finish as well. There are many different types but the lady at the Blick said this was a good one to start with.
Other Supplies:
You’ll also need :
a ruler
scissors
foam brush or paintbrush
paper towels
pencil
Instructions:
Step 1:
Use a ruler to measure your the paper dimensions to match the size of your book cover. You can do this the way you would gift wrap a book. Use your pencil to mark down how much of the inside of the cover you want to decorate.
Step 2:
Apply glue on the top of the book. Be sure to put a thin layer of the Mod Podge without streaks. Then slowly place the book down onto the paper. (You might want to stretch out the paper as you lay the book down to minimize any creases or air bubbles.)
Then apply glue along the spine of the book and place the book down onto the paper. After that you would do the same again. Apply thin layer of glue on the back cover of the book then place the book down on the paper.
After that apply a thin layer of glue on the part of the paper that will be folded onto the inside cover of the book.
Step 3:
Wait about two hours for the glue to dry. If you want a glossy sheen on the cover you can apply a coat of the glue on top of cover and then wait to dry.
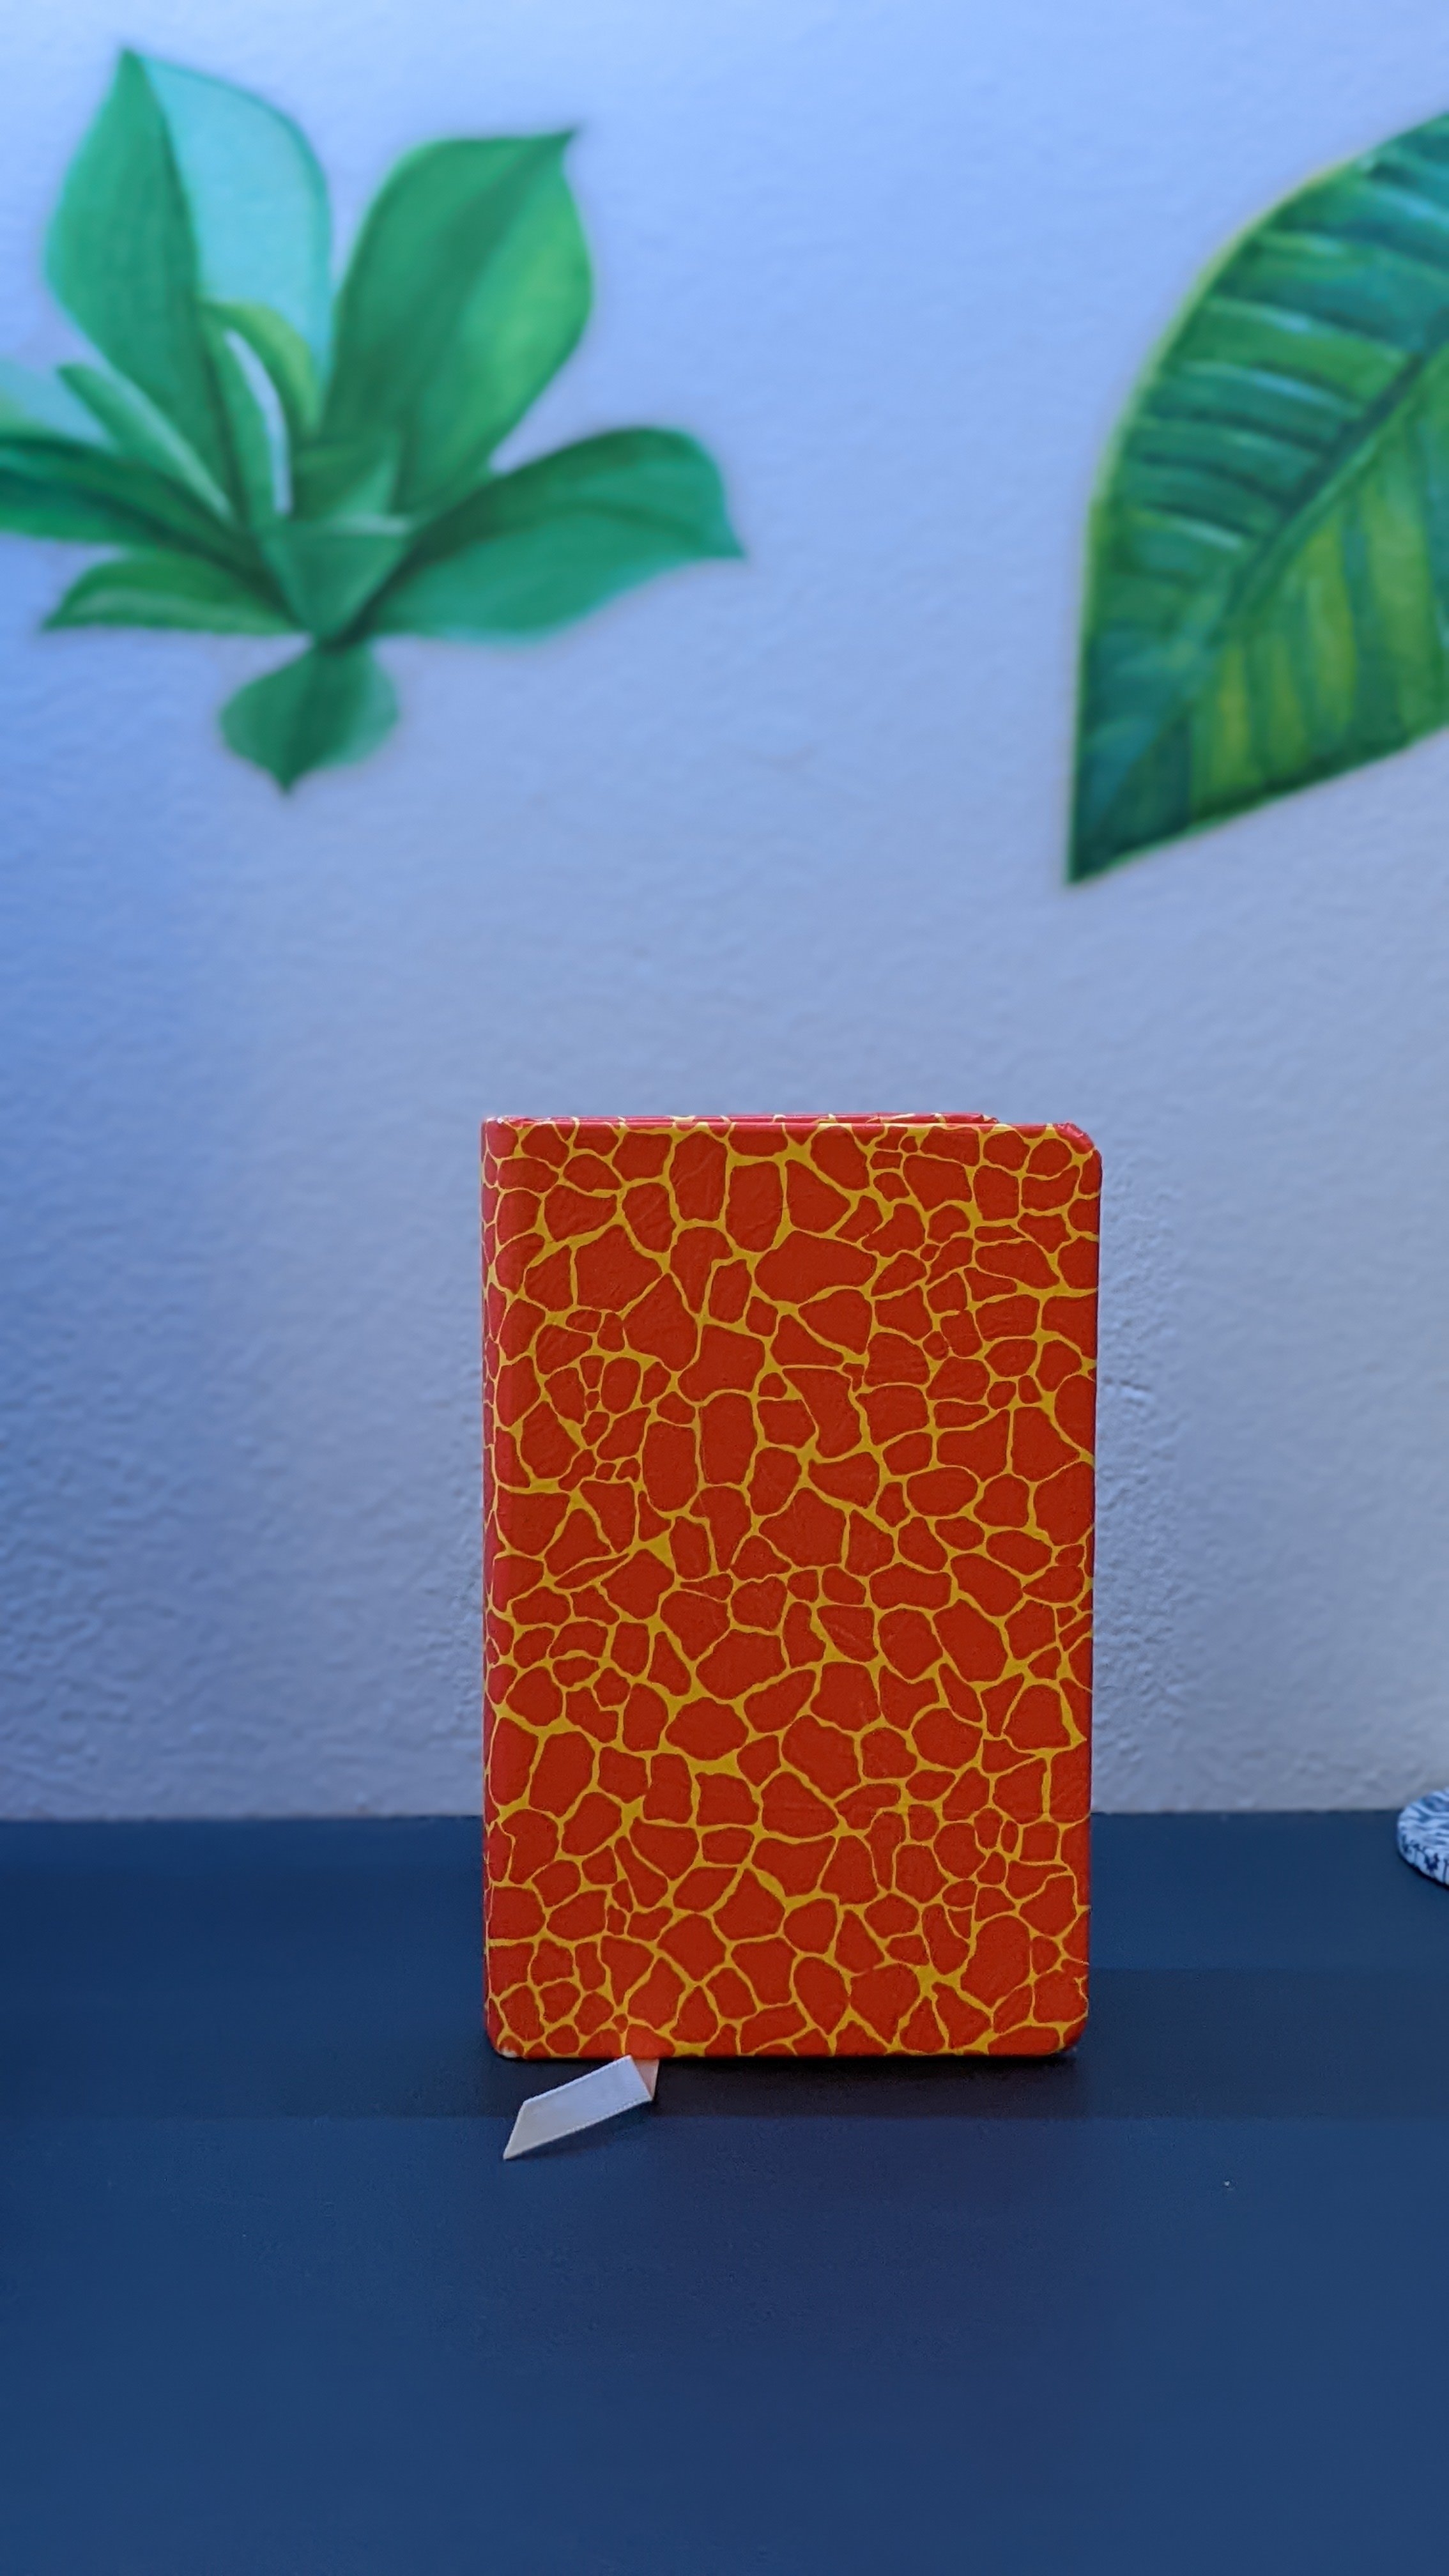
Here is the finished product!


Check out my YouTube video of the art project
